Getting Started with Mitsuki
Welcome to Mitsuki!
Come with me, take the journey. ❀
This guide will get you up and running with your first application in just a few minutes.
1. Installation
First, install Mitsuki from PyPI:
pip install mitsuki2. Your First Application
Create a file named app.py and add the following code:
from mitsuki import Application, RestController, GetMapping

@RestController # Or @Controller or @Router
class HelloController:
    @GetMapping("/hello/{name}") # Or @Get
    async def hello(self, name: str) -> dict:
        return {"message": f"Hello, {name}!"}

@Application
class MyApp:
    # Or add configs here
    pass

if __name__ == "__main__":
    MyApp.run()
What's happening here?
@Applicationmarks the entry point of our app.@RestControllerdefines a class that handles HTTP requests.@GetMappingmaps thehellomethod to the URL/hello/{name}.- The
nameparameter is automatically extracted from the URL. - The dictionary returned by the method is automatically converted to a JSON response.
LEARN MORE
To learn more about configuration options - read Configuration.
Alternatively, you can also use the CLI for a standardized project structure, a set of starter domain objects and auto-working repositories with CRUD capabilities at no cost.
For getting started with the CLI, hit mitsuki init or read CLI.
3. Running the Application
Run your application from the terminal:
python app.pyWhich shows you the startup logs:
2025-11-27 23:44:39,132 - mitsuki - INFO     -
2025-11-27 23:44:39,132 - mitsuki - INFO     -     ♡ 。 ₊°༺❤︎༻°₊ 。 ♡
2025-11-27 23:44:39,132 - mitsuki - INFO     -               _ __             __   _
2025-11-27 23:44:39,132 - mitsuki - INFO     -    ____ ___  (_) /________  __/ /__(_)
2025-11-27 23:44:39,132 - mitsuki - INFO     -   / __ `__ \/ / __/ ___/ / / / //_/ /
2025-11-27 23:44:39,132 - mitsuki - INFO     -  / / / / / / / /_(__  ) /_/ / ,< / /
2025-11-27 23:44:39,132 - mitsuki - INFO     - /_/ /_/ /_/_/\__/____/\__,_/_/|_/_/
2025-11-27 23:44:39,132 - mitsuki - INFO     -     °❀˖ ° °❀⋆.ೃ࿔*:・  ° ❀˖°
2025-11-27 23:44:39,132 - mitsuki - INFO     -
2025-11-27 23:44:39,132 - mitsuki - INFO     - :: Mitsuki ::                (v0.1.1)
2025-11-27 23:44:39,132 - mitsuki - INFO     -
2025-11-27 23:44:39,132 - mitsuki - INFO     - Mitsuki application starting on http://0.0.0.0:8000
2025-11-27 23:44:39,133 - _granian - INFO     - Starting granian (main PID: 92829)
2025-11-27 23:44:39,139 - _granian - INFO     - Listening at: http://0.0.0.0:8000
2025-11-27 23:44:39,150 - _granian - INFO     - Spawning worker-1 with PID: 92836
2025-11-27 23:44:39,559 - _granian.workers - INFO     - Started worker-1
2025-11-27 23:44:39,559 - _granian.workers - INFO     - Started worker-1 runtime-1
4. Testing Your Endpoint
Open a new terminal and use curl to test your new endpoint:
curl http://localhost:8000/hello/worldYou should get the following JSON response:
{"message":"Hello, world!"}LEARN MORE
To learn more about responses, requests and validation - read Response Entity and Request/Response Validation.
5. Automatic API Documentation
Mitsuki automatically generates OpenAPI documentation for your application. With your application still running, open your browser and go to:
You will see the Scalar documentation UI, where you can explore and interact with your API:
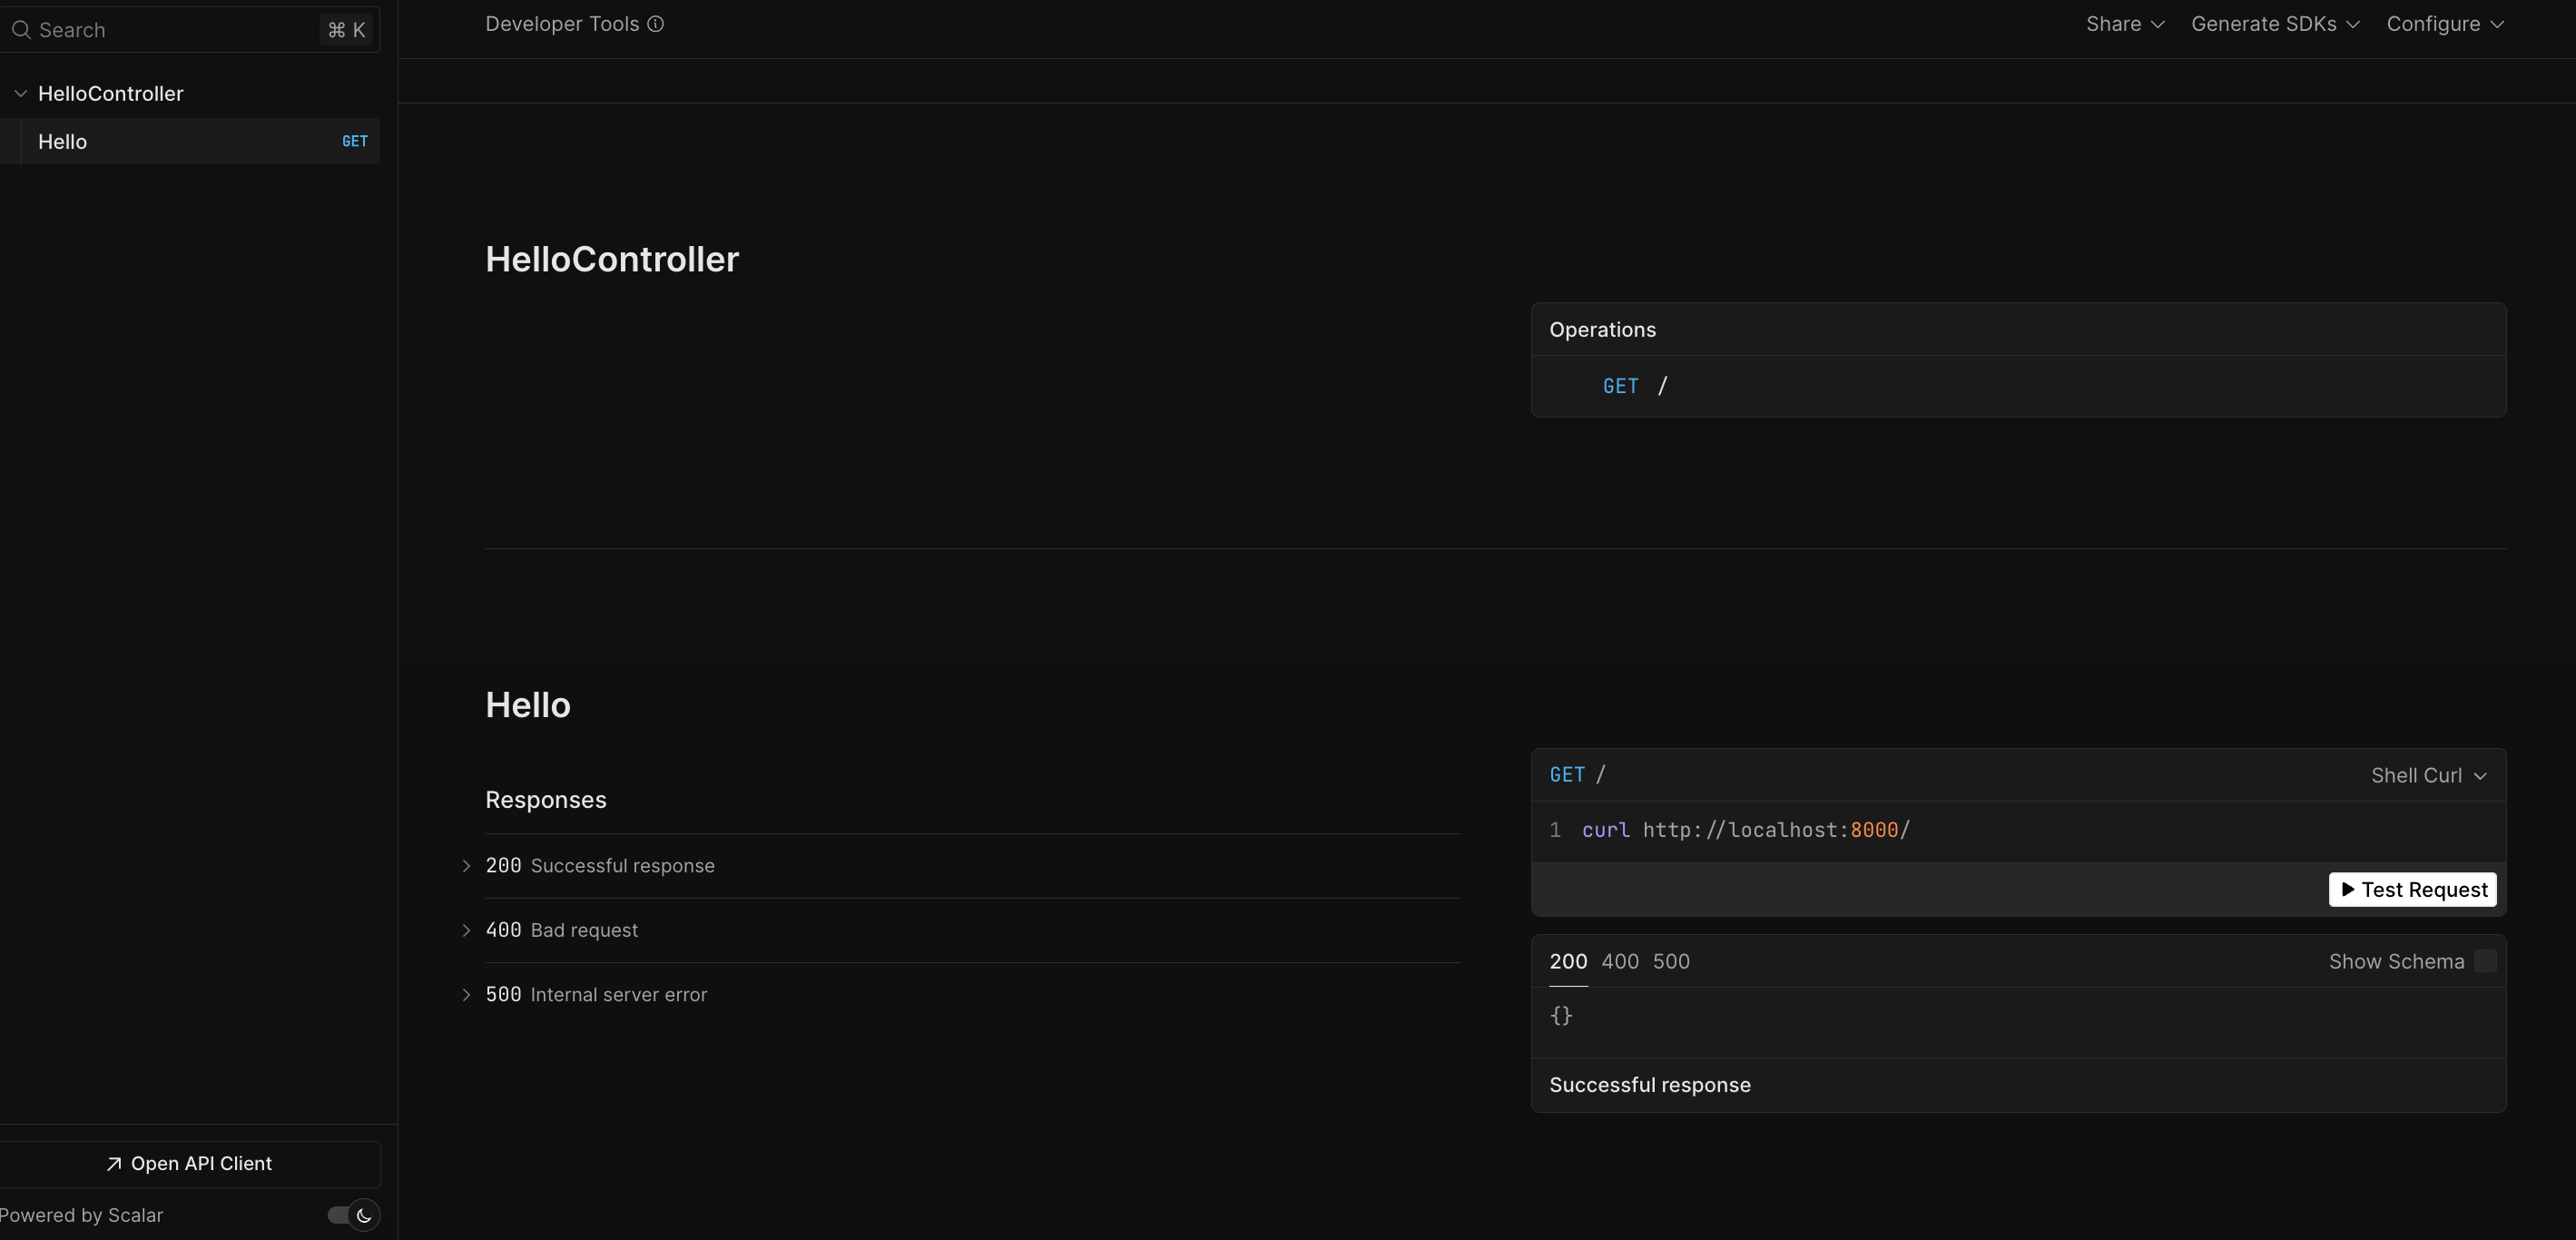
You can switch between SwaggerUI, Redocly and Scalar or have them all at the same time.
LEARN MORE
To learn more about OpenAPI support - read OpenAPI.
Next Steps
Congratulations! You've built and run your first Mitsuki application.
Here are some topics to explore next:
- Overview: Understand the core concepts of Mitsuki, such as dependency injection and the overall architecture.
- Controllers: Learn more about creating controllers and handling different types of requests.
- Repositories & Data Layer: Discover how to connect to a database and perform CRUD operations with zero boilerplate.
- Configuration: See how to configure your application using
application.yml. - OpenAPI: Customize your API documentation with tags, descriptions, and examples.